 clipoven
The footage is already on your drive. A two-hour stream, a forty-minute interview, a screen recording of a run you’re proud of, and somewhere inside it are the sixty seconds that matter. The timeline is empty, the playhead sits at zero, and every guide you’ve opened says the same thing: cut the boring parts.
That advice skips the hard question. Boring to whom, at what second, and how do the kept moments join up once the rest is gone? Cutting isn’t a cleaning job where you sweep out silence. It’s a chain of decisions about which moments carry the point and how each one hands off to the next. The editors who look fast are the ones who decide before they trim, not the ones who click quickly.
Here’s how to cut video when you’re starting from raw footage and an empty timeline, from the first watch to the export check.
Table of Contents
- Cut Types and When to Use Each
- How to Cut Video Step by Step
- Pacing Cuts Without Losing Meaning
- Turning Horizontal Footage into a Vertical Short
- Common Cutting Mistakes and How to Fix Them
- Choose Your Cutting Route for Your Next Clip
Cut Types and When to Use Each
Say you’ve got forty minutes of stream footage and five minutes of it is worth publishing. The cuts you make aren’t interchangeable moves. Each one solves a different problem at the join, and picking the wrong type is why an edit feels off even when the timing looks right on the waveform.
| Cut type | Use it when | Example | Watch for |
|---|---|---|---|
| Hard cut | Moving between two different moments or angles | Gameplay kill to a reaction face | Sudden change if framing or energy jumps |
| Jump cut | Removing a pause inside one continuous shot | Cutting a two-second breath from a talking head | Visible shift in position; hide it with a zoom or caption |
| J-cut | Next speaker’s audio starts before their picture | Hearing the interviewer’s question while still on the guest | Keeps interviews flowing without hard stops |
| L-cut | Previous shot’s audio carries over the new visual | Narration continues while the screen changes | Lets a reaction land without an abrupt end |
| Cutaway | Covering a jump or adding context | Screen recording inserted while the speaker talks | The inserted visual must support the line being spoken |
The hard cut is the default and the one you’ll use most. Its trade-off is honesty: if the framing, energy or color jumps between the two shots, the audience feels the seam before they understand the content. The jump cut buys you tempo inside a single continuous take, but it shows a visible shift in the speaker’s body position, so pair it with a punch-in or a caption change to give the eye a reason for the shift.
J-cuts and L-cuts are the pair that make interviews watchable. A J-cut carries the next speaker’s audio under the current picture, so a question lands while you’re still looking at the guest’s face. An L-cut does the reverse: the previous line keeps playing over the new shot, which lets a reaction sit on screen instead of getting chopped off. Both hide editing from the viewer, which is the point.
The habit that speeds everything up: name the cut type out loud before you make it. “This is a jump cut” tells you immediately whether you need a cutaway or a zoom to cover it.
None of this is possible without a timeline that lets you rearrange clips without touching the source. That’s the core difference between modern editing and the tape-based workflow it replaced, and the shift changed the economics of cutting rather than just the equipment, as this history of nonlinear editing lays out: Editing Machines Corporation shipped the EMC2 in 1989 and Avid introduced the Avid/1 around the same period, with the term “nonlinear video editing” formalized in 1991. If you’re deciding between a straight cut and something softer at a particular join, this guide to making video transitions covers where a dissolve earns its place.
How to Cut Video Step by Step
Four tools do almost all the work: the selection tool to move clips, the blade or razor to split at the playhead, the trim edit to move one edge without shifting everything downstream, and ripple delete to close the gap you just made. Learn the keyboard shortcut for each before you start. Hunting through menus is what turns a twenty-minute cut into a two-hour one.
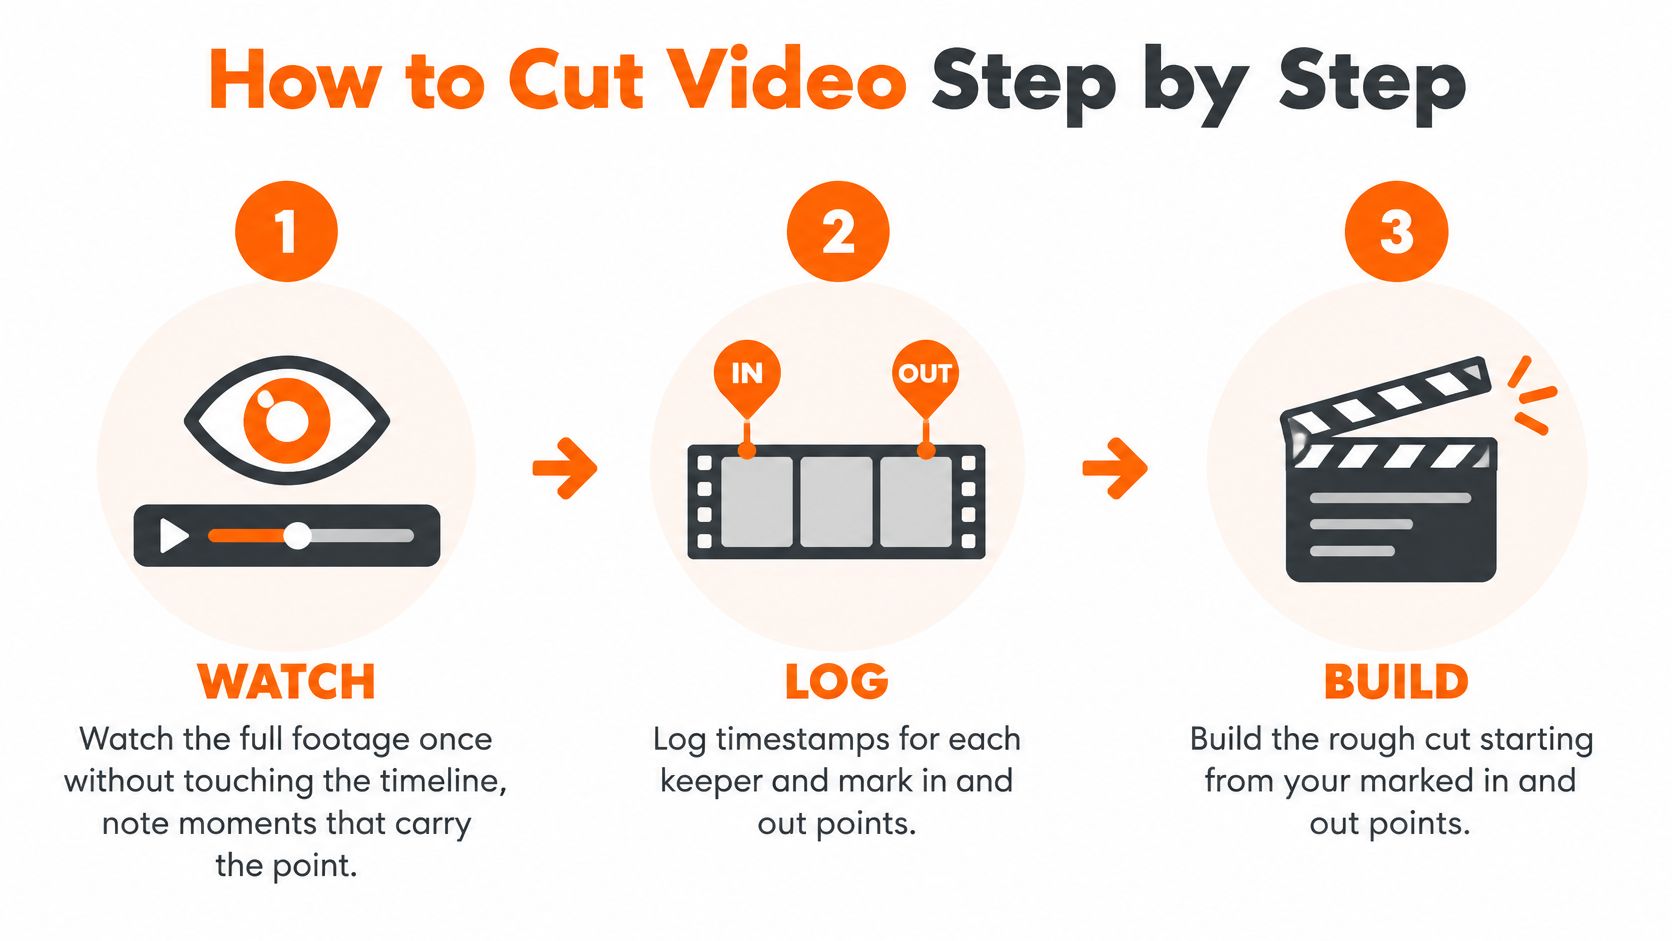
The sequence below works on any footage, from a boss fight to a product demo.
-
Watch the full recording once without touching the timeline. No scrubbing, no trimming. Keep a notepad open and write down the moments that carry the point. Editing while you watch is how you lose the shape of the whole thing.
-
Log timestamps for every keeper, with in and out points. A rough list of thirty entries is faster to assemble than thirty scrubs through a scrub bar. It also stops you from re-watching footage you already rejected.
-
Assemble the keepers in story order. For a short, put the strongest moment first and build backward from it. The opening two seconds decide whether anything else gets watched.
-
Trim the head of each clip. Cut on the action or on the first word of the sentence. Most cuts that feel slow start too early, and moving the in point two frames later fixes more edit problems than any effect.
-
Close the gaps with ripple delete, then check what moved. Ripple delete shifts everything downstream to the left. If audio or captions were linked and you broke the link, they’ll drift out of sync at that exact point.
-
Review at full speed and mark attention lapses. Play the whole sequence without pausing. Anywhere your eye drifts to the corner of the screen is a stretch to shorten or cut.
-
Check continuity at every join. Subject position, lighting direction, and the last word of the outgoing line. A cut that lands mid-word or jumps the speaker to the other side of frame reads as a mistake.
-
Export a preview and watch it with sound off. Muted autoplay is how most feeds serve video, so captions have to carry the meaning on their own. If the story collapses without audio, the cut isn’t finished.
You’re done when every clip earns its place and removing any single one leaves a hole in the story. That test catches padding better than a runtime target does. For sequences built from many short shots rather than one continuous conversation, the same steps apply with more attention to rhythm, which is what building video montages that hold momentum is really about.
Pacing Cuts Without Losing Meaning
The standard advice is to cut relentlessly and treat every pause as waste. That rule gets results on some footage and ruins others. Cutting faster raises attention up to a point, then starts working against comprehension. A study of 2,520 viewing experiences across 42 public-service announcements, published via Springer, found that shorter scene durations can increase attention while excessive visual complexity has a delayed negative effect on attentional synchrony. In plain terms: speed buys you the first few seconds, and clutter costs you the next few.
So separate two things that look identical on a waveform. Removable dead air is filler words, a repeated take, silent setup while someone opens a menu, or a three-second pause while they find their place. Purposeful pause is the beat before a punchline and the half-second after a result lands, where the viewer needs room to register what happened.
Practical rule: remove a pause when it adds no information. Keep it when it signals a turn in the story.
Reaction shots and establishing frames are the other place editors over-trim. Cut the reaction and a cause looks unrelated to its effect: the reaction shot is what tells the viewer the kill mattered. Cut the establishing frame and the next line refers to something the audience never saw.
Genre changes the answer. A gaming highlight reel usually benefits from rapid action cuts, because the action itself provides continuity. A strategy explanation needs the decision and its outcome kept in the same breath, or the reasoning stops making sense.
Rhythm governs both cases, and the craft of building video montages that hold momentum is the same skill applied to shots instead of sentences.
Run this test on any cut you’re unsure about: play it and ask whether each shot answers a question the previous one raised. If a shot answers nothing, it’s padding. If a shot raises a question nothing answers, you’ve cut the payoff.
Turning Horizontal Footage into a Vertical Short
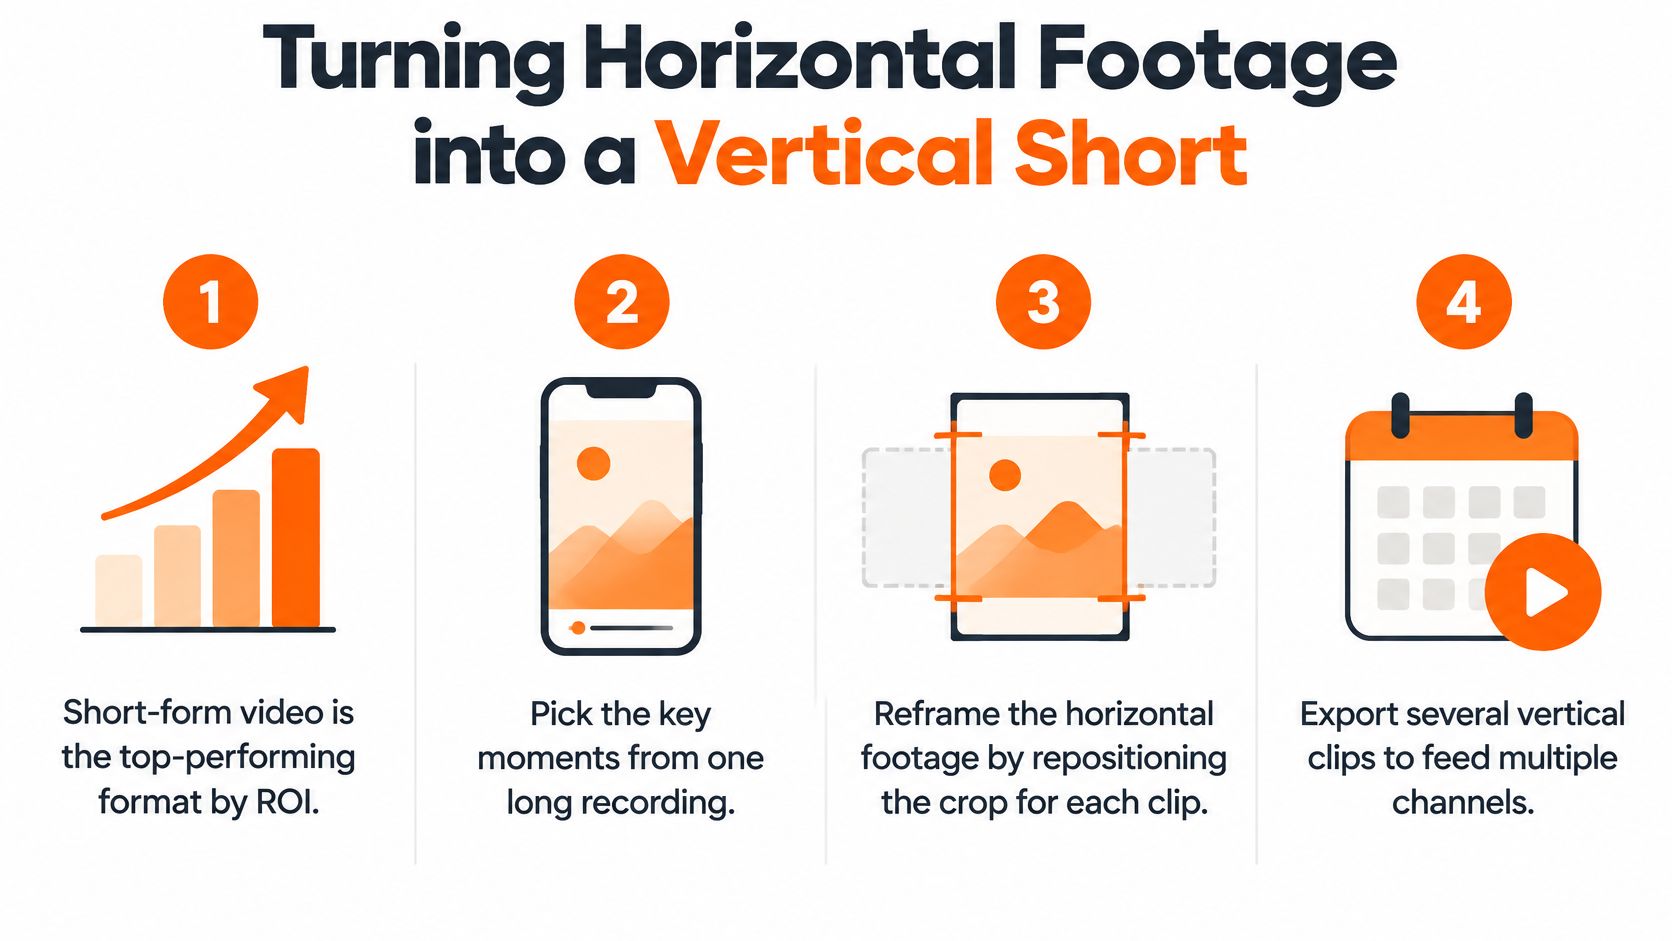
One recording can feed several vertical clips, which is the argument for repurposing instead of starting fresh each time. The export setting is the easy part. The reframe decides whether the cut still makes sense after the crop removes context.
- Pick the subject to follow before you crop. A face, a pair of hands on a controller, or a HUD element. Everything else in the frame is negotiable.
- Set the crop, then scrub the whole clip. A crop that looks perfect at the start can drift off the subject by the end. Keyframe the position if the subject moves, and check the first and last frame of every clip.
- Preserve context, not just the face. Cropping a speaker so their hands and the object they are holding fall outside the frame costs more comprehension than a slightly smaller face would.
- Check captions against a phone-sized preview, not your monitor. Text that reads fine at 27 inches can be unreadable at arm’s length on a handset.
| Platform | Aspect ratio | Reference resolution | Safe-zone risk |
|---|---|---|---|
| TikTok | 9:16 | 1080×1920 | Bottom and right edges covered by captions and buttons |
| Instagram Reels | 9:16 | 1080×1920 | Bottom area covered by captions and buttons |
| YouTube Shorts | 9:16 | 1080×1920 typical; multiple vertical resolutions supported | Bottom and right edges covered by controls; check length rules |
Those specs come from a summary of video specifications and guidelines per social network, which lists TikTok at 9:16 and 1080×1920 while YouTube Shorts supports multiple vertical resolutions and has changing length rules. Confirm the current spec before export, because platform rules move faster than most tutorials.
Safe zones are where a clean reframe fails after publishing. Captions and calls to action placed near the bottom or right edge get covered by platform buttons and usernames, so the words a viewer needs are the words hidden. Keep text in the upper-middle band, then check every caption line against the phone preview before the file leaves your machine.
Muted viewing is the other constraint. Captions have to work with no audio at all, and they have to survive translation, where the same sentence can run noticeably longer. Short caption chunks with generous line breaks handle both. If you are producing several versions for different platforms, these techniques for resizing videos keep the crop and the text consistent across them.
Here is the reframe in motion, which shows how much of the decision is where the subject sits rather than the aspect ratio itself.
Common Cutting Mistakes and How to Fix Them
The hardest mistakes are the ones that look right on the timeline. Before you change anything, work out which of three causes you’re dealing with: a linked-clip problem, a framing problem, or a timing problem. Replay the same join after each fix to confirm the symptom is gone rather than moved somewhere else.
| Symptom | Likely cause | Fix |
|---|---|---|
| Audio drifts after cuts | Ripple delete moved video but not linked audio | Check linked clips or delete audio and video separately |
| Subject cropped in vertical frame | Reframe centered on the wrong point | Move the frame onto the face or hands |
| Cut feels slow | Clip starts before the first word or action | Trim the head to the first word or action |
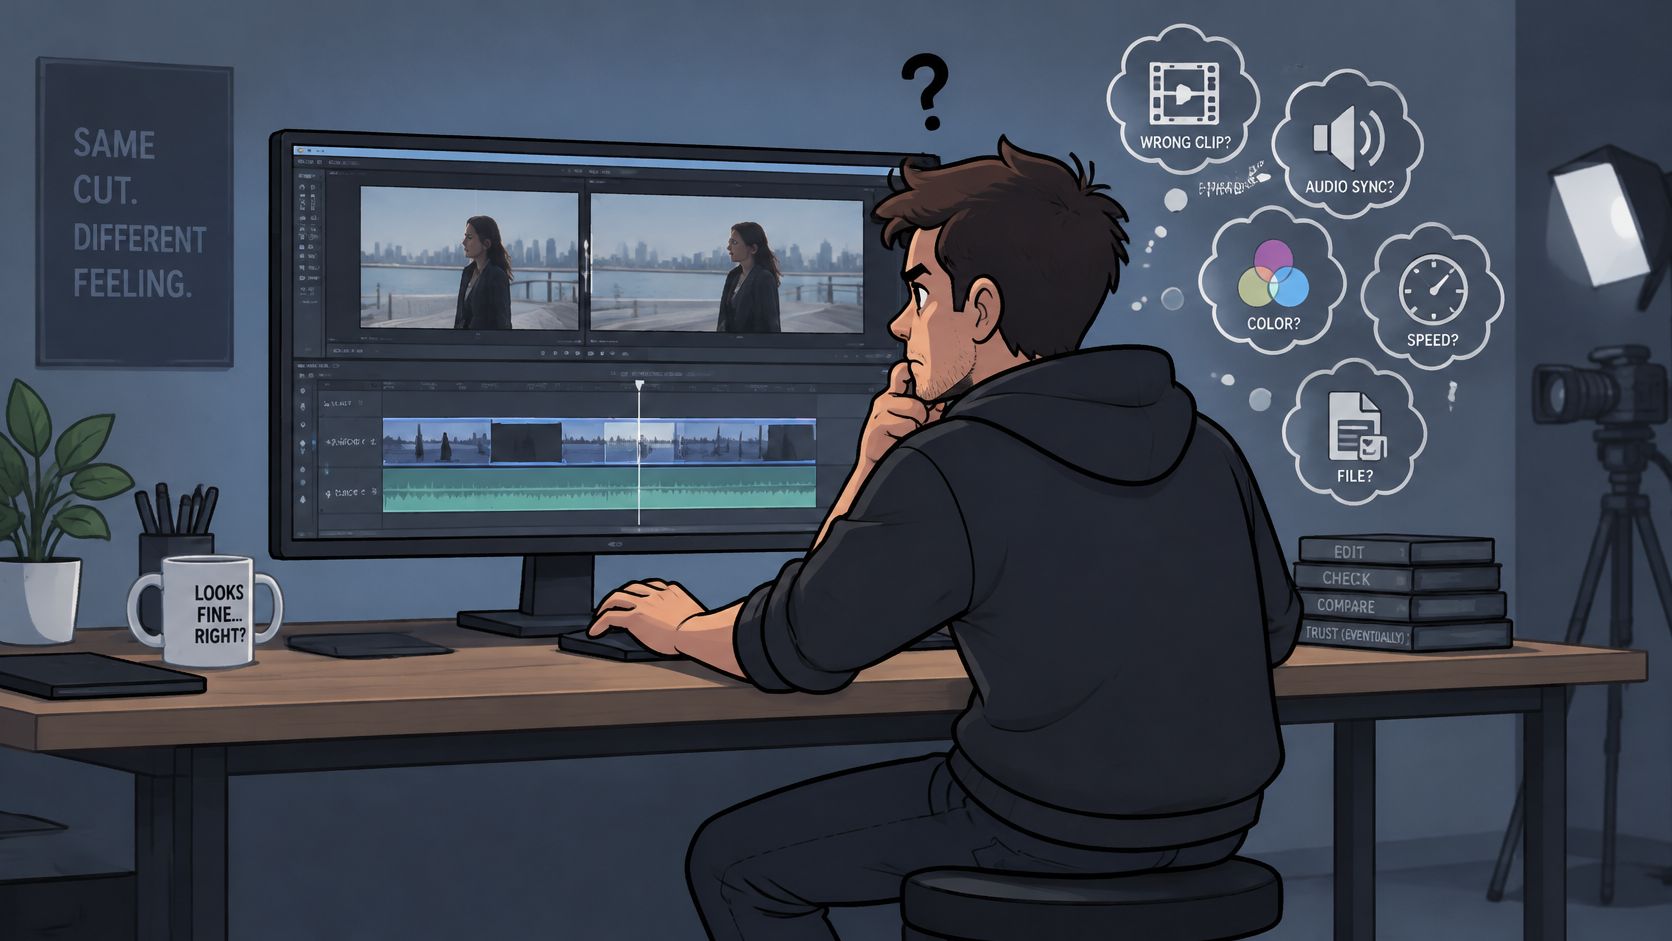
Drifting audio is the most common of the three, and it almost always traces back to a ripple delete that moved one track while the linked track stayed put. Cropped subjects come from letting the software auto-center the frame instead of placing it yourself. Slow-feeling cuts are a head-trim problem, not a pacing problem.
For jump cut covering and caption placement, work from the cut types and the vertical safe zones above rather than patching each clip by hand. Then play the finished cut on an actual phone, once with sound and once without, and write down any moment that confuses you before a viewer finds it.
Choose Your Cutting Route for Your Next Clip
Two routes get you from raw file to published clip, and neither is universally better. In 2025, short-form video was reported as the top-performing content format by ROI, with 30% of both B2B and B2C marketers using it, according to HubSpot’s marketing research. That kind of volume is exactly where the choice of route starts to matter more than any single edit decision.
Manual timeline work gives you control over every join. You set the in point frame by frame, decide the exact pause length, and hear the music hit where you want it. The cost is time per clip, and it scales badly: ten vertical cuts from one stream is a full working day if each one needs a fresh assembly.
Assisted assembly trades some of that control for a first draft. With clipoven, you bring your footage, describe the intended vibe to Eddie, the AI editing agent, and it assembles the cuts, captions and effects into a vertical short. From there you keep refining in chat or open the full editor to adjust timing, cuts and effects yourself. You end up with the same editable timeline, just with the boring first pass already done.
The rule I’d apply: use a manual timeline when the story depends on exact timing, such as a comedic beat or a score. Use an assisted route when the goal is many vertical versions from one source and the joins can be corrected after the fact.
Compare both routes on the same clip. Time to first draft, control over each individual join, and how much rework the phone check reveals. Whichever route wins on those three for your footage is the one to keep.
Pick one clip you already have. Apply the cut-type table and the eight-step procedure, check the vertical frame against the safe zones, and watch it on a phone before you export.
If you’d rather skip the manual assembly and start with a cut that already exists, clipoven turns horizontal footage into a 9:16 vertical short with the subject in frame and captions built for the feed. Tell Eddie the vibe you’re after, then refine the cuts and timing in the full editor until the pacing feels right. Bring one clip you’ve been putting off and see how much of this process it handles before you touch the timeline.