 clipoven
Most advice about how to make transitions starts with effects. Add a whip pan, drop in a glitch, sync a swipe to the beat, and hope the clip feels more “viral.” That approach confuses visible editing with useful editing. In a vertical feed, a transition earns its place only when it improves clarity, momentum, mood, or surprise.
Cuts became the dominant grammar of modern screen storytelling long before TikTok and YouTube Shorts. A historical review found that cuts were rare before 1900, while the 1930s and 1940s established patterned use of cuts, dissolves, and fades. In contemporary popular movies, about 99% of transitions are cuts according to this historical review of film transitions. Short-form editing builds on that same visual language, then compresses it for a viewer who can swipe away instantly.
The practical question isn’t “Which effect looks impressive?” It’s “What should the viewer understand or feel at this exact frame?” The answer determines whether you need a hard cut, a match-cut, a whip pan, a caption-led change, or no transition at all.
Table of Contents
- Rethinking Transitions for Short-Form Retention
- Mastering Cuts and Match-Cuts in Vertical Formats
- Applying Whip Pans and Digital Effects Strategically
- Executing Transitions in the Timeline Editor
- Optimizing Transition Logic for Platform Algorithms
- Fixing Common Transition and Pacing Mistakes
Rethinking Transitions for Short-Form Retention
Flashy effects rarely create retention on their own. In a vertical feed, they can make the subject, framing, audio, and captions change at once, forcing viewers to decode the edit instead of following the point. A clean jump cut often works harder: it removes dead air and reveals the next useful beat immediately.
A large computer vision dataset provides a pacing reference. It analyzed 29,998 training videos and 5,000 test videos, with an average of about 3.97 transitions per video in both groups and an average length of 15.83 seconds, as documented in the transition dataset overview. That is roughly one transition every four seconds in those samples. Treat it as context, not a formula. Some clips need several controlled changes, while others hold attention through jump cuts, captions, and a strong loop back to the opening.
Practical rule: If viewers notice the transition before they notice the information, simplify it.
Start with the reason for the change
Label every edit point before opening an effects panel. Is the cut removing hesitation, moving from setup to payoff, changing location, shifting speaker or camera scale, or marking a change in emotional tone? Name the job first. If the edit has no clear function, test a direct cut.
Transitions appear in only 2.4% of short-form videos, while captions appear in 80%, according to OpusClip’s short-form editing research. The comparison does not prove that captions always outperform transitions. It does show where editing effort often pays off: captions, subject clarity, and rhythm carry more of the viewing experience than decorative effects.
For a talking-head clip, cut between sentences, tighten the pause, and animate the key phrase. For gaming footage, remove empty movement before the decisive play, then cut on the action or reaction. If the source already contains strong motion, a digital burst can weaken its impact. A restrained cut also leaves room for the final frame to connect naturally with the first frame, which supports replay without making the loop obvious.
Use minimalist edits deliberately
Jump cuts work when viewers understand that time has passed or the speaker has moved to a new thought. An overlapping cut can smooth the change by carrying a gesture, sound, or phrase across the edit. Research on jump-cut editing discusses overlapping cuts and low pacing as tools connected with completion and rewatch behavior in this short-form editing guide.
Complexity still has a place. Use it when the change itself affects the viewer’s experience, such as a location shift, reveal, or deliberate disruption. Otherwise, an invisible transition may be the stronger choice.
When repurposing long recordings, identify the strongest moments first and remove material that does not advance the clip, following this guide to repurposing video content. Build the sequence around those moments, then add only the transitions that clarify movement, timing, or meaning.
Mastering Cuts and Match-Cuts in Vertical Formats
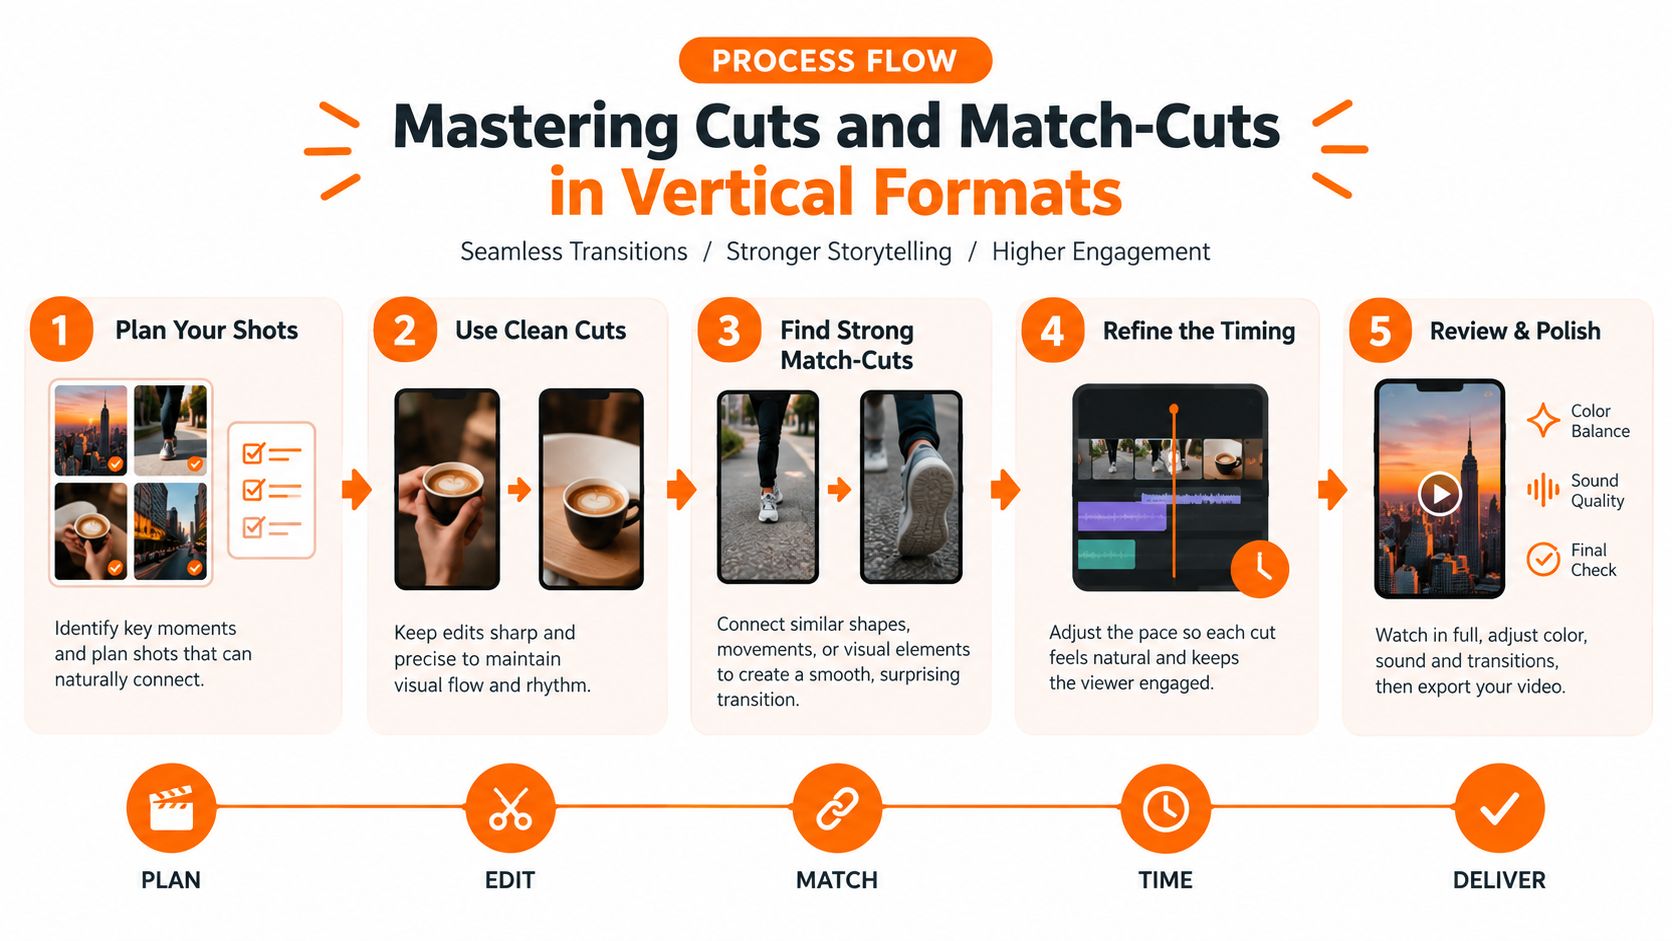
Flashy transitions rarely rescue a weak vertical edit. A precise cut protects the subject, preserves motion, and gets to the next piece of information before the viewer scrolls. Horizontal footage leaves space around faces, hands, products, gameplay, and captions. A 9:16 frame forces each element into a narrower visual zone, so a subject that shifts between clips can make the edit feel broken even when the transition is technically clean.
Build the invisible cut
Find the last outgoing frame where the action still carries information, then enter the next clip when its subject is immediately readable. Extra frames that feel cinematic in a source recording often read as hesitation in a scrolling feed. For a basic swipe or masked movement, 0.2 to 0.5 seconds is a practical working range. A hard cut needs no transition duration, while a directional movement needs enough time to register without becoming the event itself.
Reframing changes the decision. A talking-head face may need to stay near the upper third so captions and facial expression remain visible, while a gameplay clip may require a wider crop to preserve the HUD and the target area. Keep a close-up near a close-up unless the scale change communicates a new beat. Review the edit without sound as well. If the viewer cannot follow the subject, audio will not fully repair the cut. The ClipOven guide to resizing videos can help when horizontal footage needs a subject-focused vertical crop instead of a centered squeeze.
Match movement, not just objects
A match-cut needs a believable relationship between shots, not identical objects. Pair a hand moving left with another hand moving left, a camera push with a digital scale-in, or a head turn with a reaction from another angle. Viewers follow the motion path, so direction often matters more than visual similarity.
Camera angle can announce a new idea. A level medium shot cutting to a steep overhead view feels deliberate when the change supports the story. It feels accidental when position, scale, and direction all change without an audio or narrative reason.
Inspect each edit at full vertical size, not only in the wide timeline view. The eye should travel along a consistent path whenever possible. Motion continuity hides more edits than a complicated preset.
Keep the viewer’s eye moving along the same path whenever possible. Motion continuity hides more edits than a complicated preset.
Applying Whip Pans and Digital Effects Strategically
A whip pan works when the footage already contains a fast lateral movement or when you create a convincing directional bridge between two shots. It doesn’t work as a decorative stamp placed between unrelated clips. The effect can be technically smooth and still feel wrong if the outgoing motion travels right while the incoming shot begins with the subject moving left.
Consider a gaming highlight. The player turns quickly toward an opponent, the camera or game view sweeps across the frame, and the next shot begins with the decisive action already underway. A short directional blur can connect those shots because the movement has narrative purpose. If the clip cuts from a static menu to the final reaction, a whip pan adds noise. A direct cut with a sharp impact sound usually gets the viewer to the payoff faster.
Match the effect to the scene
For streamer reactions, use a match-cut when the emotional beat depends on continuity. A streamer looking toward a monitor can cut to the game result at a similar screen-side position, then return to the reaction with a tighter crop. Use a jump cut instead when the value comes from compressing repeated commentary or removing a long buildup.
For brand promos, a swipe can connect products or locations when the direction stays consistent. Keep the typography and color treatment restrained so the transition doesn’t compete with the product. For gaming clips, a hit, whoosh, or controller sound can make the cut feel intentional, but the audio should support the action rather than hide poor timing.
Expert guidance recommends matching motion, framing scale, and camera angle, while using flashy effects sparingly because overuse reduces impact and immersion, as explained in this practical transition guidance.
Sync movement with audio
Place the visual change on a meaningful audio event, such as a beat, impact, vocal emphasis, or sudden silence. Don’t force every cut onto the music. A spoken reveal may work better just before the beat, giving the viewer a visual answer before the track lands.
Build the effect from the footage outward:
- Find the strongest movement in the outgoing shot.
- Cut while the movement is still fast enough to hide the seam.
- Begin the incoming clip with a related direction or scale.
- Add blur only where the movement needs help.
- Remove the effect if the scene remains confusing at normal playback speed.
An AI clipper can help locate candidate moments in a long recording, but the final decision still belongs in the timeline. For workflows that combine automatic selection with editable finishing, ClipOven’s AI video clipper can propose short-form edits that you then refine rather than treating its first assembly as final.
Executing Transitions in the Timeline Editor
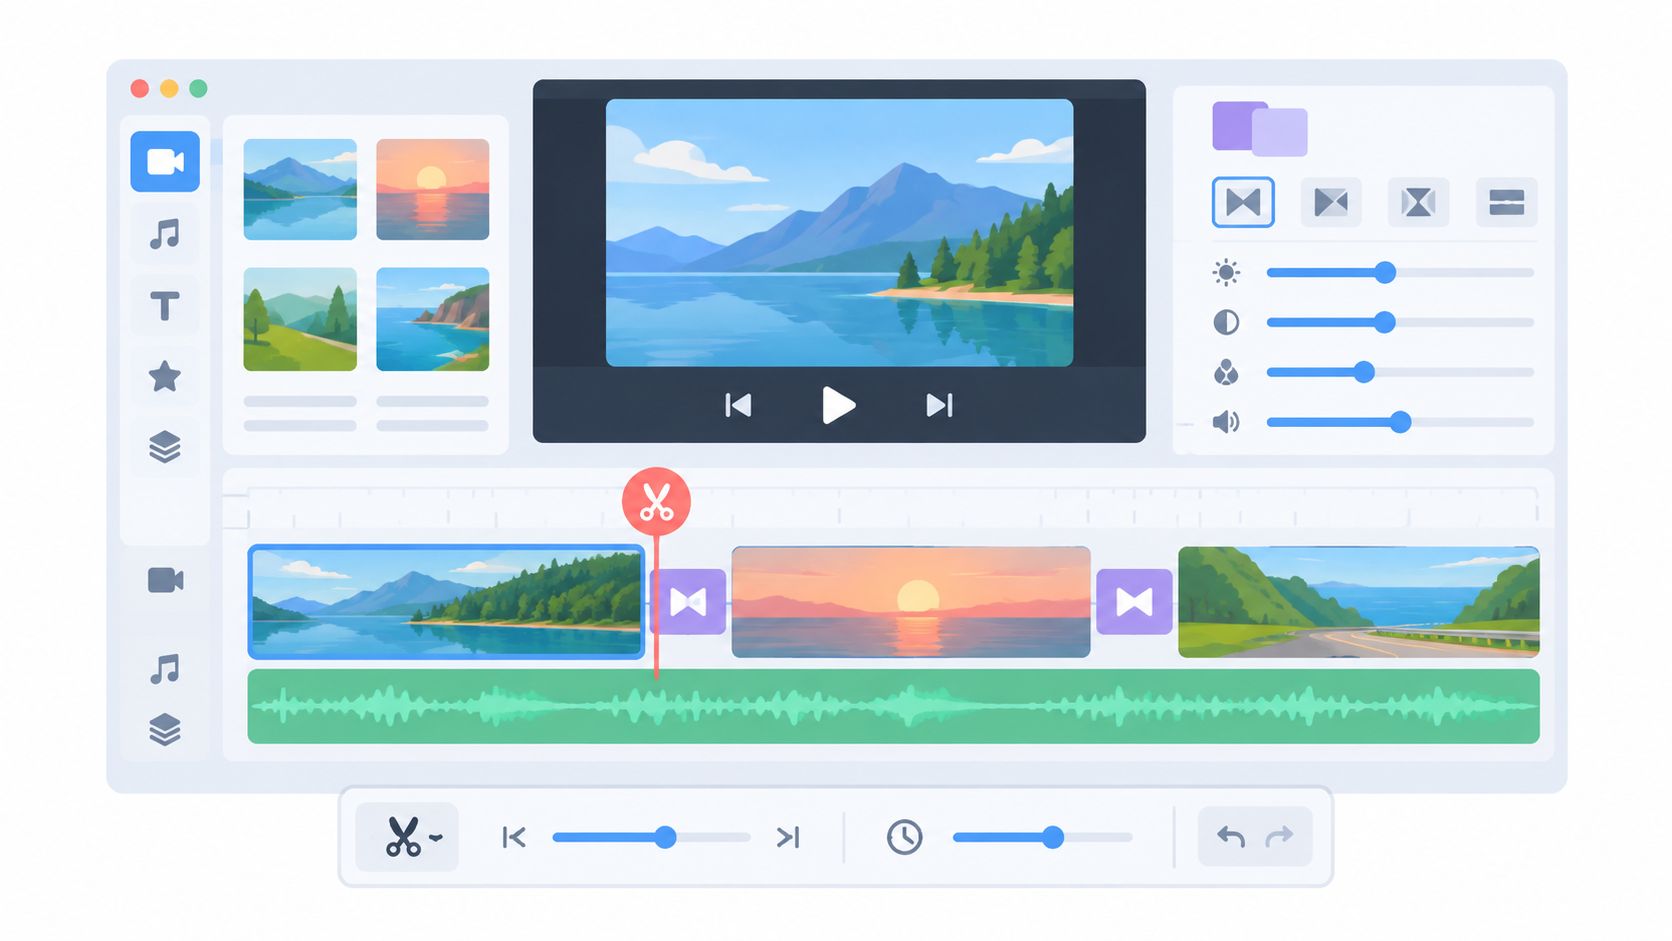
A timeline exposes weak structure quickly. Lock the story order before adding polish. If the setup, action, and payoff do not work as direct cuts, an effect will only disguise the problem for a moment. In vertical short-form video, clean motion continuity usually holds attention better than a dramatic preset.
Keep transition elements on a separate layer whenever possible. In ClipOven, place that layer above the footage but below captions, so you can shorten, replace, or remove the effect without shifting the edit or covering text. Keep caption animation tied to the spoken phrase and visual action, not just to the clip’s first frame.
Trim for flexibility
Captured footage needs usable handles around the action. Keep 1 to 3 seconds of lead-in and lead-out when recording clips. That margin lets you find the strongest frame, shorten either side, and test the cut without forcing a conspicuous preset to hide missing footage.
Use those handles deliberately:
- Trim the outgoing clip until its final gesture still carries forward energy.
- Trim the incoming clip until the subject enters with clear intent.
- Nudge the transition in small increments while watching at normal speed.
- Review the cut with captions enabled. Text can cover a face or create a second focal point.
- Disable the transition and compare the result with the direct-cut version.
The simpler edit often wins. If the motion already connects the shots, leave the effect off.
Layer sound before decoration
Audio can sell a visual change more effectively than another graphic layer. A short riser can prepare a reveal, while an impact can mark a punchline, game event, or product detail. Align the sound to the frame change. A late impact makes the edit feel slow even when the visual cut is correctly placed.
GIFs, stickers, and overlays can support a difficult jump cut, but each should explain its presence. A sticker that hides a face without adding information creates another distraction. A brief overlay can support a reaction, label, or visual joke and make the cut feel intentional.
Animated captions need frame-level attention. If a word appears before it is spoken, viewers may read ahead and lose the moment. If it arrives after the visual change, the edit feels disconnected. Adjust the caption entrance, emphasis, and exit around the vocal rhythm, then watch the complete clip without pausing.eriwa
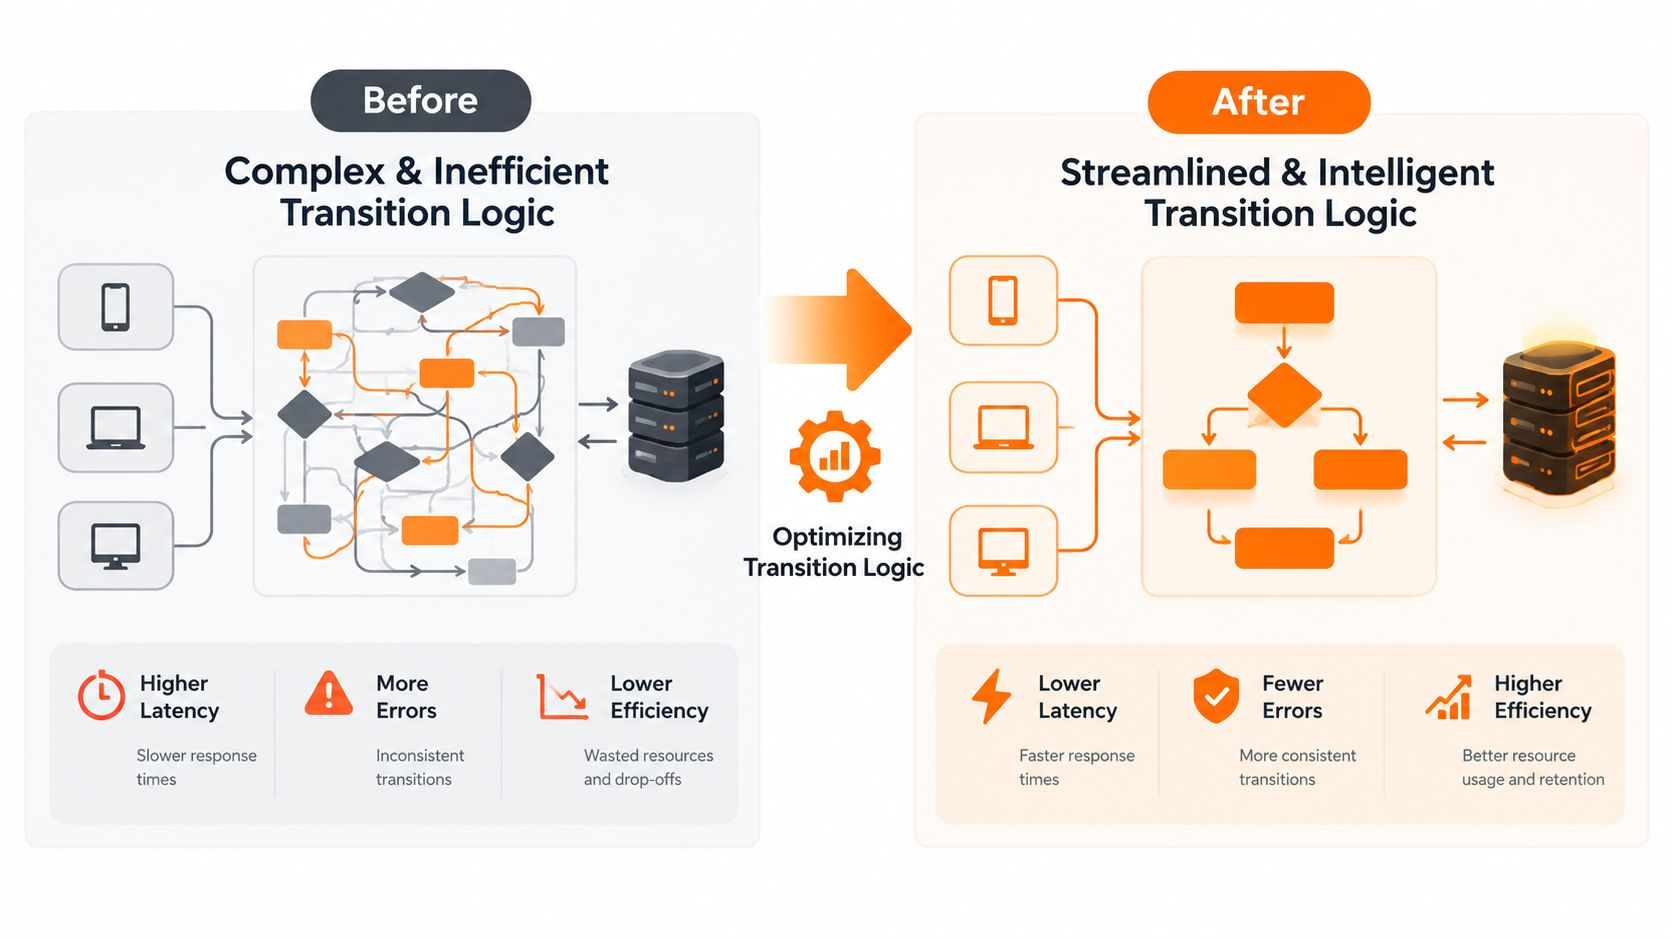
Optimizing Transition Logic for Platform Algorithms
Platform-native editing isn’t about using a separate effect for TikTok, Reels, or Shorts. It’s about matching the edit to how the clip introduces information, sustains attention, and returns to its opening. A transition should help the viewer understand what happens next before the feed offers the next piece of content.
Reveal-first editing is useful when the result carries the hook. Show the surprising gameplay outcome, product detail, or reaction early, then supply just enough setup to make it meaningful. Beat-synced switches can add energy, but a spoken phrase or visual action should take priority over a rigid music grid.
Recent short-form trend coverage points toward reveal-first edits, beat-synced switches, and ultra-short loops, while broader industry coverage identifies platform-native editing and AI-assisted post-production as important shifts for 2026. These directions are discussed in CapCut’s coverage of short-form transition trends. They don’t justify adding more effects. They suggest that editors should design the sequence around continuation and replay.
Design the final handoff
A loop works when the last movement, sound, or statement connects naturally to the first frame. You can end on a gesture that continues into the opening, cut on a repeated word, or use a visual position that makes the restart feel like the next beat rather than a reset.
Don’t fake a loop with a long effect that hides the ending. The viewer should still understand the clip on the first pass. A loop that flows without a visible seam is a bonus, not a substitute for a clear payoff.
For each platform export, check:
- Opening clarity: Does the first frame identify the subject or tension immediately?
- Dead air: Have you removed pauses that don’t create suspense or meaning?
- Transition purpose: Does every visual change support speed, clarity, mood, or surprise?
- Loop connection: Can the final motion or phrase hand off to the beginning?
- Native feel: Do the captions, crop, and pacing look designed for a vertical feed?
Treat these as creative decisions, not promises about algorithmic results. No transition can rescue a weak opening, an unclear payoff, or footage that asks the viewer to wait too long.
Fixing Common Transition and Pacing Mistakes
Transition problems usually show up in the timeline before they appear in the export. A gap, mismatched movement, or late audio hit points to a specific edit decision. Inspect the seam before adding another effect.
When the match-cut feels disjointed
Start with screen position. If a face, hand, product, weapon, or gameplay target jumps across the frame, adjust the crop or keyframe the outgoing shot. Compare movement direction and scale as well. When those elements still fail to align, replace the match-cut with a hard cut. A direct change often holds attention better than a forced visual trick.
When the effect kills momentum
Treat a slow transition as a pacing problem, not a design challenge. If the effect delays the next piece of information, shorten it to under 0.5 seconds and test the two clips as a hard cut first. Fundamental swipes should stay brief, following short-form transition timing guidance.
Use this rescue sequence:
- Remove the preset: Watch the clips as a hard cut.
- Add overlap: Carry a gesture, word, or sound across the edit.
- Use a caption bridge: Keep the key phrase visible during the visual change.
- Reframe the action: Hold the focal subject steady through the crop.
- Restore the effect only if needed: Keep the shortest version that improves clarity or impact.
A transition should earn its place by preserving motion, emphasis, or comprehension.
When audio lands late
Zoom into the waveform and align the impact with the frame where the visual change occurs, rather than with the start of the transition layer. If the sound still feels delayed, move it earlier and check it at normal playback speed. A whoosh that begins too soon feels detached. An impact that arrives late makes the cut feel weak.
Export a test and watch it outside the editor. Check caption readability, crop stability, audio timing, and the connection between the first and last frames. If the clip works with effects disabled, the cut structure is doing its job. If it falls apart, fix the pacing before rebuilding the effects.
ClipOven turns horizontal footage into editable vertical shorts with subject-focused reframing, AI-proposed cuts, animated captions, layered effects, and a full timeline for refining transitions. Test the workflow on a gaming highlight, talking-head clip, or brand short at clipoven.