 clipoven
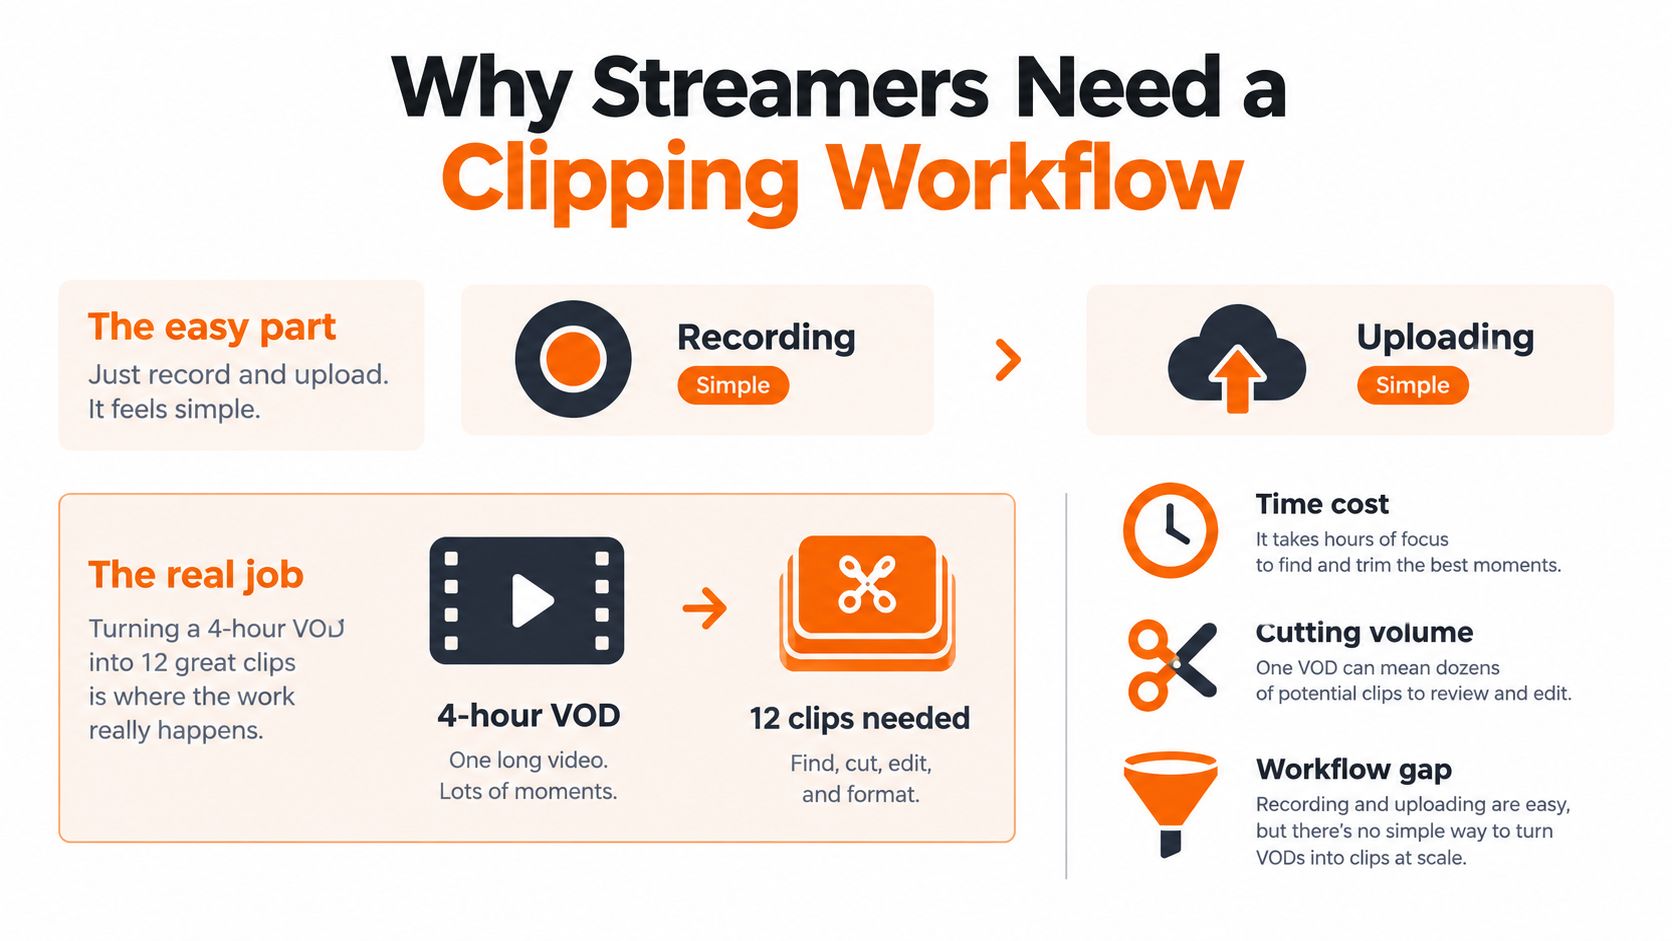
You’ve finished a four-hour stream, the VOD is safely recorded, and the upload itself takes only a few clicks. Then the actual work starts. Somewhere inside hours of gameplay, commentary, reactions, and audience interaction are the clips your viewers might genuinely discover, but finding, tightening, captioning, reframing, and exporting them can consume the rest of the weekend.
That’s the practical challenge of video editing for streamers. A livestream is a wide, chronological source file. Shorts, TikTok, and Reels are narrow, feed-driven experiences that demand a clear opening, readable text, focused composition, and a reason to keep watching. The editor’s job isn’t just to crop the VOD. It’s to turn one broadcast into a set of native distribution assets, each with a purpose.
Table of Contents
- Why Streamers Need a Clipping Workflow
- Finding the Moments Worth Cutting
- Reframing 16 - 9 Streams for Vertical Feeds
- Writing Captions That Earn Watch Time
- Tailoring Cuts for Shorts, TikTok, and Reels
- Measuring What a Clip Is Actually Worth
- Building a Weekly Batching Pipeline
Why Streamers Need a Clipping Workflow
Recording and uploading are repeatable tasks. Turning a long broadcast into a batch of useful short-form videos is a production system.
Statista estimates that Twitch had approximately 7.2 million active streamers, which shows that live content comes from a broad creator ecosystem rather than only a small group of celebrity broadcasters. The platform’s 2025 figures also identify Kai Cenat as the most-watched individual streamer, with roughly 131.9 million hours viewed, and report that he became the first Twitch creator to exceed 1 million active subscribers (Statista’s overview of online video content creators). At that level, editing isn’t an occasional highlight task. It’s part of distribution.
A single broadcast can contain gameplay highlights, reactions, tactical explanations, collaborations, jokes, and audience moments. The bottleneck is deciding which moments deserve a new structure, then producing them quickly enough to publish consistently.
The four phases of the job
A reliable workflow has four distinct phases:
- Discover the moment. Use the transcript, timeline markers, chat context, and gameplay events to find possible payoffs.
- Build the story. Remove setup that only made sense live, then put the result, conflict, or question near the opening.
- Compose the vertical frame. Track the speaker or gameplay action, protect important interface elements, and choose a layout suited to the clip.
- Validate and distribute. Check captions, sound-off clarity, safe areas, export quality, and downstream performance.
AI can help with candidate selection, transcript search, silence removal, reframing, captions, and first-pass assembly. It still struggles with context. A tool may identify an excited voice, but it won’t always know whether the reaction makes sense without the preceding exchange. It may center a face while cutting off the minimap that explains the play.
Practical rule: Treat automation as a fast first editor. Treat the human pass as the person responsible for meaning, timing, and taste.
Short-form video gives this workflow a large potential distribution surface. A 2024 estimate placed the worldwide number of people who use or watch short-form video on social platforms at approximately 1.13 billion, while TikTok was reported to have approximately 1.19 billion monthly active users worldwide in the first quarter of 2024 (short-form video market figures). Those figures don’t guarantee that any individual clip will perform, but they explain why a VOD that stays in a chronological livestream archive may be worth restructuring for vertical feeds.
The useful goal is not “make twelve clips from every stream” at any cost. It’s to create a repeatable pipeline that gives each selected moment a clear audience, a native format, and a measurable role in the channel. A streamer clipping workflow should make that process faster without turning every clip into the same generic crop.
Finding the Moments Worth Cutting
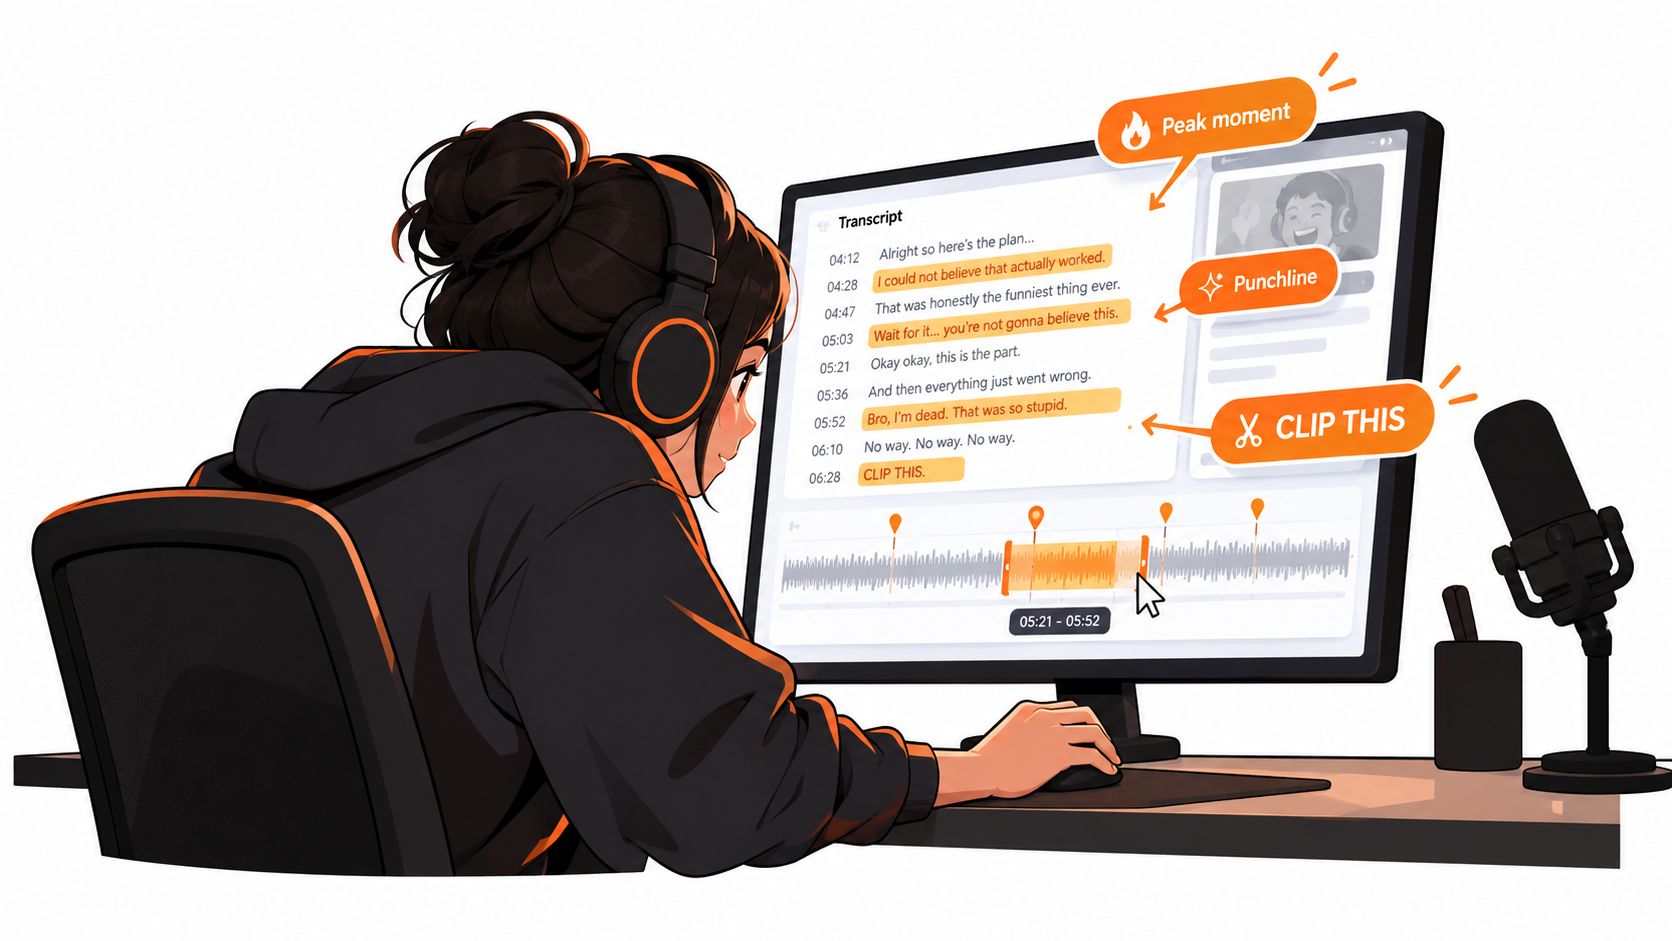
The fastest way to search a VOD is to search meaning before searching pictures. Generate a transcript, scan for complete thoughts, and mark moments where something resolves: a clutch play, a sharp reaction, a useful explanation, a punchline, or a disagreement that reaches a clear turn.
The transcript is an index, not the finished edit. Read around each candidate so you can remove the greeting, repeated context, long pause, or reference that only regular viewers understand. Then watch the source with the gameplay and camera visible. A sentence that looks strong in text may depend on a facial reaction, a sound cue, or a visual event that happens several seconds later.
Lead with the payoff
The first one to two seconds should present the result, conflict, or question, not a chronological obligation to say hello. A viewer in a discovery feed hasn’t agreed to wait for the interesting part.
Weak chronological cut:
- “So we’ve been trying this strategy for a while.”
- A long explanation of the match state.
- The player attempts the move.
- The move succeeds.
- The streamer reacts.
Stronger reordered cut:
- Open on the successful move or the immediate reaction.
- Add a short caption that frames the problem.
- Include only the explanation needed to understand why it worked.
- End on the reaction, result, or a loop back to the opening.
The second version may use the same source material, but it changes the viewer’s question. Instead of asking whether anything will happen, the viewer starts by asking how the result happened.
Another example works for commentary. A chronological clip might begin with a streamer explaining a mistake, pause while they check the replay, then eventually state the lesson. A stronger edit opens with, “This is why the play failed,” shows the relevant moment, and then uses the explanation as proof. Don’t remove every setup line automatically. Keep context when it changes the interpretation, but compress context that only served the live conversation.
A quick VOD triage
For each candidate, ask:
- Does it resolve? Is there a payoff, reaction, answer, joke, or visible result?
- Can a new viewer follow it? Remove names, references, and chat replies that lack context.
- Can the opening stand alone? Test the first seconds without audio.
- Does the visual matter? If the moment depends on the HUD, facecam, or a replay, plan the composition before cutting.
- Is the ending clean? Stop after the result, or design a deliberate loop.
A transcript-assisted tool can surface likely moments much faster than scrubbing manually. The editor still decides whether the clip has a story. A loud reaction without a clear trigger is noise. A quiet tactical explanation with a strong before-and-after can be valuable, even if the source moment isn’t dramatic.
Reframing 16 - 9 Streams for Vertical Feeds
A vertical edit isn’t a horizontal video with its sides removed. It’s a new composition with less room for the game, facecam, captions, and interface.
The common failure is automatic center-cropping. Center-cropping might preserve a character in the middle of the game, but it can remove the kill feed, minimap, subtitles, health indicator, or facecam that explains the event. In a commentary clip, it can also leave a large amount of empty gameplay while the speaker’s expression disappears.
Start by identifying the visual subject. If the clip is a reaction, anchor the facecam and use the gameplay as supporting context. If the clip is a tactical play, prioritize the relevant action and keep the facecam visible only if the reaction adds meaning. If both matter, use a layered layout rather than forcing both into one narrow crop.
Choose the layout before polishing
Subject tracking helps keep a face or player centered as the source changes. It isn’t a substitute for review. Check moments when the speaker turns away, two characters enter the frame, the camera cuts, or a key UI element moves to the edge. Tracking can follow the wrong face or drift toward movement that isn’t important.
A layered layout can place gameplay in the main region with a smaller facecam panel, or split the frame according to the clip’s narrative. Use it sparingly. A crowded vertical canvas makes gameplay harder to read and leaves captions competing with overlays.
| Clip type | Primary focus | Reframe strategy | Watch out for |
|---|---|---|---|
| Reaction or emotional reveal | Facecam and delivery | Anchor the facecam, with gameplay as a secondary layer | Cropping the visual trigger that explains the reaction |
| Tactical explanation | Gameplay state and HUD | Track the relevant action and preserve the minimap or status elements | Hiding the interface that proves the explanation |
| Clutch play | In-game movement and result | Use dynamic crops or a wide-enough layered gameplay frame | Center-cropping away the kill feed or objective |
| Community conversation | Speaker and chat context | Prioritize the facecam, then add only necessary screen content | Leaving private or irrelevant chat details visible |
| Split reaction and gameplay | Both subjects | Use a controlled layered composition | Shrinking each element until neither is readable |
Before committing to a reframe, watch the clip once in the intended 9:16 canvas. Check every camera move, HUD transition, facecam position, and on-screen label. If the important information shifts, add keyframes or change layouts for that moment.
A dedicated horizontal-to-vertical video converter workflow can accelerate the first pass, but the final decision remains editorial. The best crop is the one that preserves the reason the clip matters, not the one that keeps a subject mathematically centered.
Writing Captions That Earn Watch Time
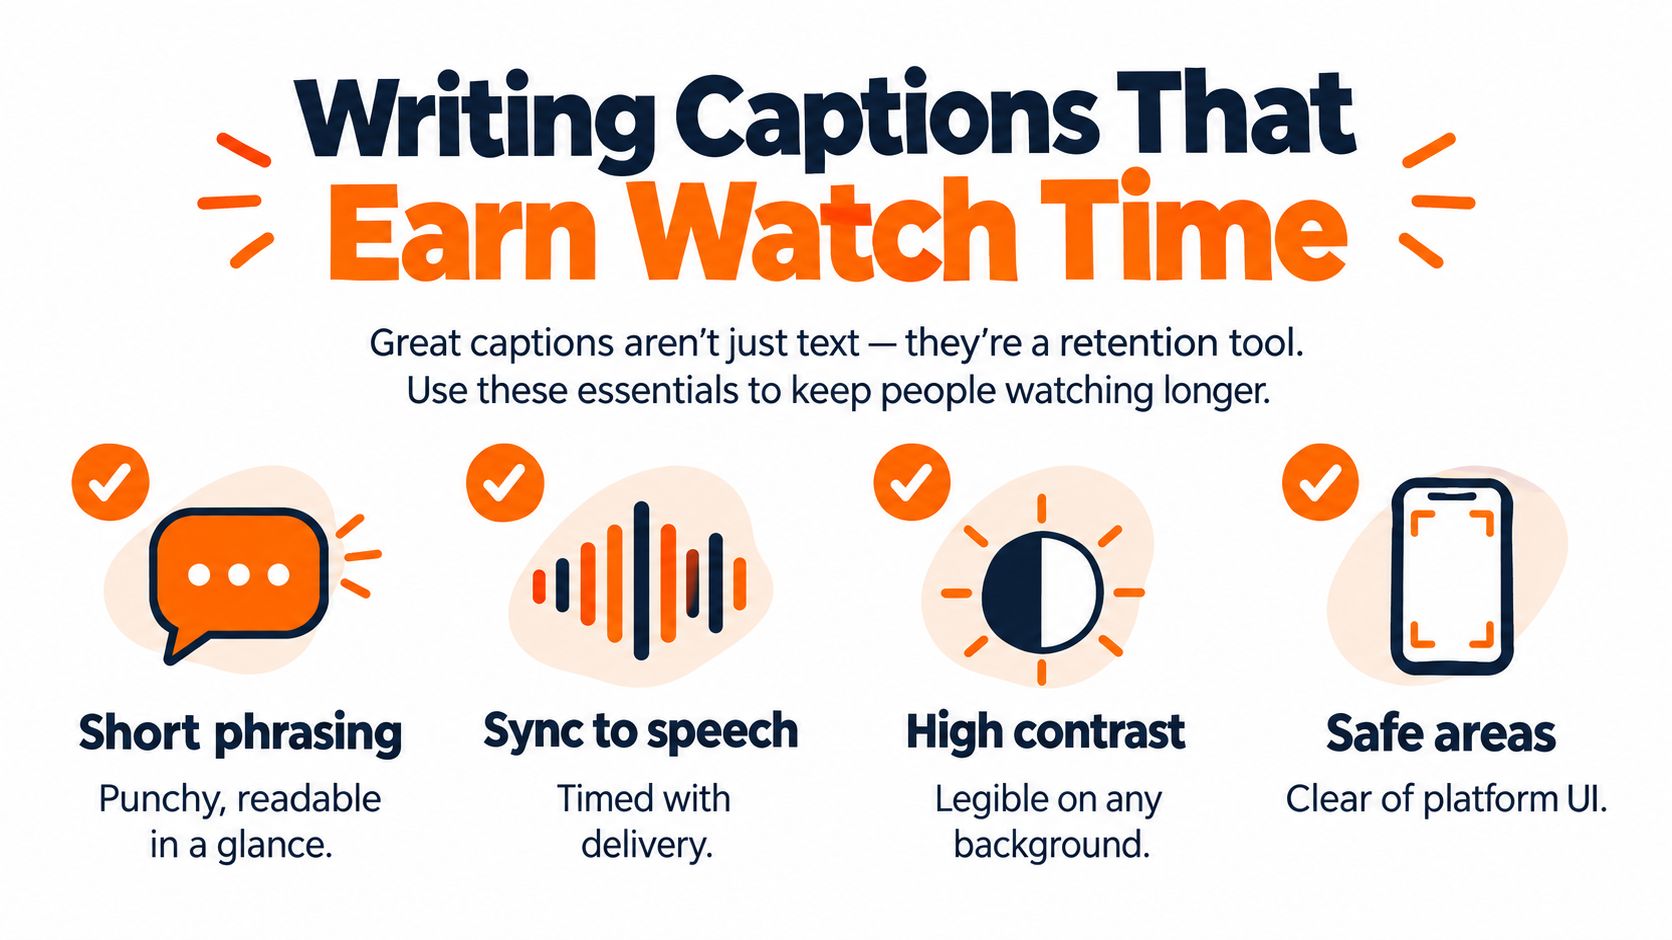
Captions carry more responsibility than transcription. They give silent viewers a way into the clip, reinforce the hook, and help the eye follow fast delivery. A technically accurate transcript can still fail if it appears as dense paragraphs, lags behind the speaker, or sits beneath platform controls.
Break speech into short phrases that can be read at a glance. Keep the words synchronized to the delivery, but don’t animate every syllable so aggressively that the text becomes distracting. Use contrast that survives bright gameplay, dark scenes, and rapid background changes. Captions should stay inside the central safe area, away from bottom controls and right-side engagement icons.
Make the text support the edit
A caption isn’t a substitute for a hook. If the first line says, “So today I’m going to show you,” it repeats weak spoken setup. Rewrite the displayed text around the useful idea, such as “The timing mistake cost the round,” while keeping the spoken audio intact where necessary.
Use emphasis for names, key actions, or the line that changes the viewer’s understanding. Don’t highlight every word. When everything is emphasized, nothing guides the eye.
Run a silent review
Mute the clip and check whether the opening still communicates a reason to watch. Then review the text for:
- Timing: Captions should arrive with the phrase, not after the viewer has already heard it.
- Accuracy: Correct names, game terms, slang, and dropped words.
- Placement: Keep text clear of the bottom controls, right-side icons, facecam, and essential HUD information.
- Contrast: Test captions against the brightest and busiest backgrounds.
- Density: Split long sentences instead of shrinking the type until it becomes decoration.
A fast caption pass can hide subtle failures. A missing negative, an incorrect player name, or a caption that lags by a beat can change the meaning of a play. Read the clip as a viewer who has no audio and no knowledge of the original stream.
Tools that generate auto-captions for TikTok can save transcription time, but don’t publish the first generated version without checking it. AI handles common speech well and struggles with game titles, usernames, accents, overlapping voices, and deliberate wordplay.
Tailoring Cuts for Shorts, TikTok, and Reels
Exporting the same file to every platform is convenient, but it treats three different feeds as one destination. A better approach starts with one source moment and creates native variations with different openings, captions, pacing, or endings.
YouTube Shorts and Instagram Reels now support videos up to three minutes, according to reporting on recent platform changes (creator economy and platform changes). That doesn’t mean every clip should be extended. It changes the planning question from “How do I force this under an arbitrary ceiling?” to “How much story does this moment need before attention drops?”
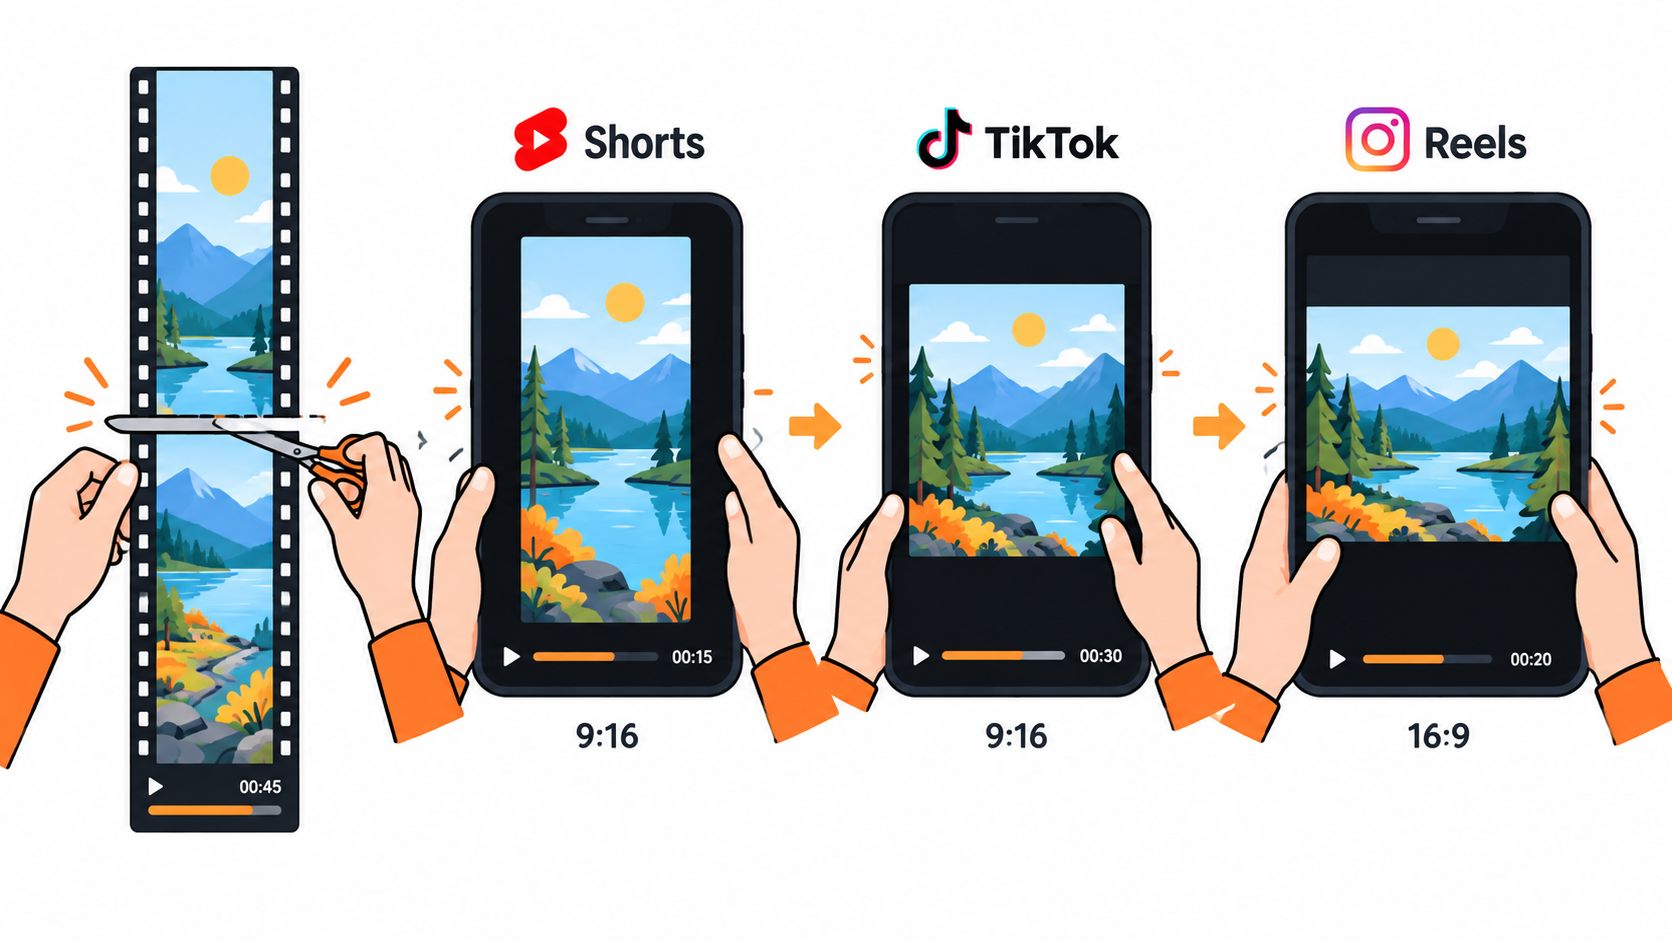
For one gameplay moment, the Shorts version might open with the result and move quickly through the proof. A TikTok version might use a more conversational hook and retain a little extra explanation. A Reel may benefit from a cleaner visual presentation that foregrounds the creator’s personality and makes the ending feel shareable. These aren’t rigid platform laws. They’re useful starting assumptions to test.
Design the batch before editing
For every candidate, write three decisions before opening the timeline:
- Destination: Shorts, TikTok, Reels, or more than one with distinct versions.
- Hook: The result, question, conflict, or reaction that appears immediately.
- Story length: The shortest cut that preserves meaning, or a longer version when the explanation earns its space.
Keep captions and overlays away from the interface areas that each feed may cover. Don’t assume a design that looks clean in your editor will remain clear after platform labels, buttons, and descriptions appear.
A multi-format stream strategy also matters at capture time. Twitch reportedly announced simultaneous horizontal and vertical streaming, which makes composition relevant during the broadcast as well as after it. If a creator plans for both views, the editor should know which elements must remain legible in each format rather than trying to rescue every decision later.
The same source moment can support several openings. One cut can lead with the impossible play, another with the streamer’s disbelief, and a third with the tactical question. Keep the core footage consistent enough to compare, but don’t confuse “same source” with “same export.”
Measuring What a Clip Is Actually Worth
A clip can pull a big view count and still do very little for the channel. I see this all the time with stream highlights that land as isolated punchlines. People watch, maybe even share, then disappear. If the clip never earns a profile visit, a follow, a return view, or a live session check-in, it functioned as disposable reach.
Measure clips in layers, because a stream clip is part of a distribution system, not a standalone post. Start with first-three-second retention, average percentage viewed, completion rate, and rewatches. Those tell you whether the opening was strong enough and whether the structure held up. Then look at the channel outcomes that matter more to a streamer: shares, follows, profile visits, returning viewers, livestream attendance, chat participation, and any other conversion that reflects ongoing interest.
That distinction matters because short-form and long-form often do different jobs. Short clips can win impressions, while longer YouTube videos may drive deeper engagement through likes, comments, and shares (industry reporting on short-form and long-form engagement). For streamers, the best cut is the one that attracts viewers who may care about the creator across formats, not just viewers who liked one out-of-context moment in the feed.
Read the numbers together
Single metrics are easy to overrate. Patterns are more useful.
- High early retention, low completion: The hook did its job, but the middle takes too long or the ending fails to pay off.
- High completion, few follows: The clip works on its own, but it does not give viewers a reason to care about the person behind it.
- High shares, low live attendance: The moment travels well across feeds, yet it is weak at pulling people toward the stream community.
- High views, weak profile activity: The packaging reached broadly, but the audience fit may be off.
- Moderate reach, strong returning viewers: This is often a better result for the channel than a one-post spike.
Test variants with discipline. Keep the source moment the same, change the opening line or first visual, and compare across similar posting windows and platforms. If you change the crop, caption style, duration, and title at the same time, you lose the ability to tell which edit choice helped.
A clip is valuable when it moves the right viewer one step closer to the channel. A dashboard number alone proves nothing.
Faster AI-assisted editing raises the stakes here. In practice, once a workflow is dialed in, a team can turn more source moments into publishable variants in far less time than a fully manual process. That speed is useful, but it also creates noise fast. More output only helps when each cut is judged by downstream community value: who followed, who came back, who showed up live, and who became part of the audience you want to keep.
Building a Weekly Batching Pipeline
A weekly pipeline should separate judgment-heavy work from repeatable production. The editor shouldn’t spend the same attention on importing files, finding speech, checking captions, and deciding whether a moment deserves publication. Each task needs its own pass.
Start with clean source material
Ingest the VOD and preserve the best available source before generating derivatives. Keep separate audio tracks when possible, name the project consistently, and store the transcript with the source timecode. If the stream contains multiple scenes, mark broad ranges first so the clip search isn’t limited to a single continuous timeline.
The first automated pass can identify transcript phrases, silence, speaker changes, likely reactions, and obvious gameplay events. It can produce candidates quickly. It shouldn’t decide that every loud moment is a highlight.
The human review should answer three questions:
- What happened?
- Why should a new viewer care?
- What must remain visible for the moment to make sense?
That review is where experienced editors save time later. Rejecting a weak candidate before captioning and reframing is cheaper than polishing a clip that never had a clear point.
Assemble in batches
Once the candidates are approved, use a project template for the vertical canvas, caption style, audio treatment, intro conventions, and export naming. Templates reduce repetitive setup, but keep enough flexibility for clips with different visual priorities.
AI is useful for:
- Finding transcript phrases and likely payoff segments.
- Removing obvious dead air and repeated lines.
- Creating a first-pass sequence.
- Generating captions and rough timing.
- Suggesting subject-centric reframes.
- Producing alternate hooks or platform versions.
A human editor is still needed for:
- Checking whether the clip has enough context.
- Choosing the correct gameplay subject.
- Protecting HUD elements, labels, and facecam meaning.
- Tightening pauses that automation leaves behind.
- Rewriting awkward captions and correcting names.
- Controlling sound effects, music, and visual emphasis.
- Deciding whether the ending feels complete or loops naturally.
Don’t render one file at a time if the batch uses the same settings. Finish the review pass, queue the approved outputs, and keep a high-quality mezzanine master for later repackaging. Repeated re-encoding can worsen text ringing and block artifacts, especially when captions and fine HUD details are already dense.
Standardize the export review
Use a progressive 9:16 master at 1080×1920, rather than assuming a higher-resolution file will retain its original quality after platform processing. YouTube-oriented delivery guidance summarized by OpenNolan recommends H.264 High Profile, 4:2:0 chroma subsampling, and approximately 8 Mbps for 1080p SDR at standard frame rates or 12 Mbps at high frame rates, with AAC audio at 48 kHz stereo in practical workflows (video specifications and delivery guidance).
Match the frame rate to the source. Use 30 fps for ordinary commentary or talking-head footage and 60 fps when motion clarity matters. Before upload, watch the encoded file rather than trusting the export dialog.
A practical pre-publish checklist
- Hook: Does the first moment communicate the result, conflict, question, or reaction without audio?
- Structure: Have you removed greetings, repeated context, dead air, and streamer-only references?
- Reframe: Are the speaker, gameplay action, HUD, minimap, and facecam visible when they matter?
- Captions: Are names, game terms, timing, contrast, and safe-area placement correct?
- Audio: Is speech clear, free of clipping, and synchronized with the picture?
- Ending: Does the clip resolve cleanly or create a deliberate loop?
- Encoding: Are there dropped frames, audio drift, clipped highlights, crushed shadows, or illegible text?
- Variants: Is the opening and pacing appropriate for the intended platform rather than copied unchanged?
The most common visual mistake is protecting the facecam at the expense of the play. If the clip is about a tactical decision, don’t shrink the entire game until the HUD becomes unreadable just to keep a small reaction window visible. Choose the visual evidence that carries the story, then add the facecam only when it strengthens that evidence.
A four-hour stream can produce a large candidate pool, but the final batch should be selective. The exact output depends on the content, the clarity of the moments, and the editor’s review standard. A steady cadence of native, platform-aware clips is more useful than a single viral export that attracts people who never return to the live channel.
That’s the core of video editing for streamers. The stream is the raw material, the clip is a distribution unit, and the workflow connects the two. AI can shorten the search and assembly stages, while a human eye protects context, timing, composition, and audience fit.
ClipOven offers an AI-driven workflow that turns horizontal footage into vertical shorts through cut assembly, captions, reframing, pacing, and effects, then lets you refine the result in a full timeline editor. If you’re building a repeatable stream-to-Shorts, TikTok, or Reels pipeline, try clipoven for the next batch of clips.